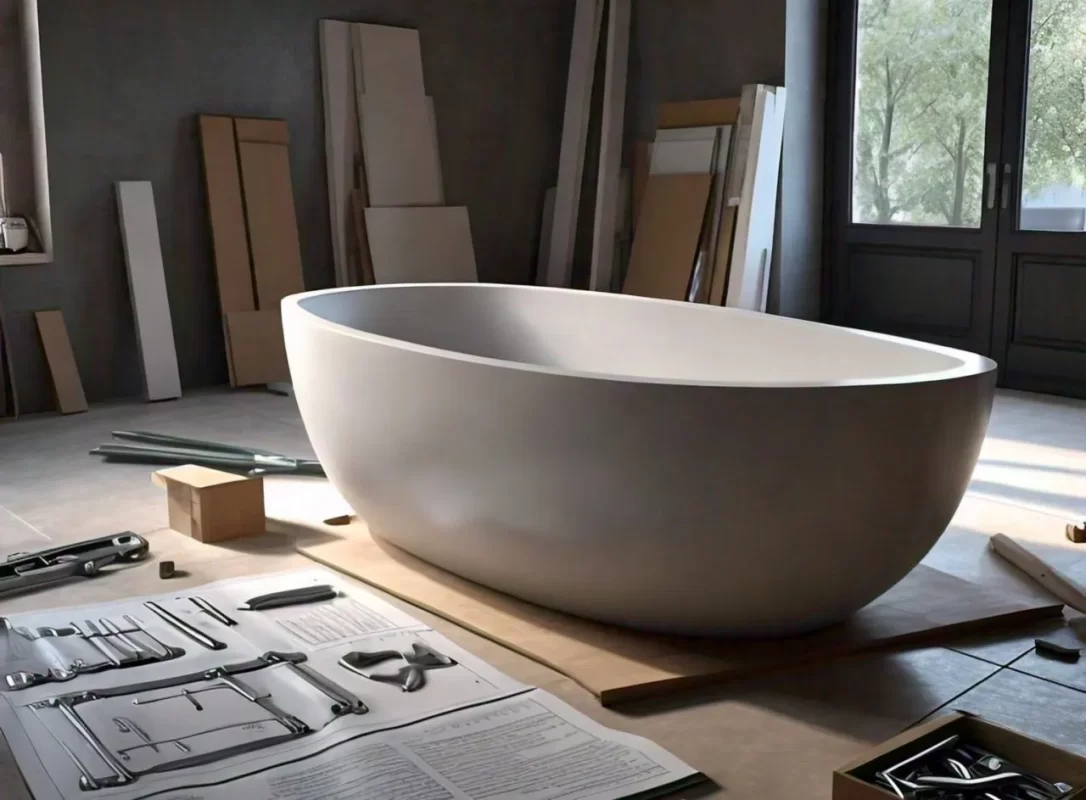
Upgrading your bathroom or home can be a thrilling experience! The bathtub is usually the main attraction in a bathroom. Right now, freestanding bathtubs are super popular because they’re luxurious and eye-catching. Adding one to your bathroom can even increase your home’s value! If you’re handy, installing a freestanding bathtub can be a fun DIY project. But, you need to be very careful and pay close attention to details to make sure it’s installed correctly and safely.
The Importance of Proper Installation
Installing a freestanding bath is a big job that needs careful planning. It’s not just about looks; it’s also about making sure the bathroom works properly. If it’s not done right, water damage and structural problems can be costly and even dangerous. But, by doing it correctly, you’ll not only increase your home’s value, but also create a safe and relaxing space for your family to enjoy. You’ll be adding a luxurious look touch that will make your bathroom feel like a spa, and that’s a great investment for your home and your family’s happiness.
Keep following things in Mind:
- Safety: Proper installation ensures a secure and stable bath, preventing accidents and injuries.
- Water Damage Prevention: Correct installation prevents water leaks and damage to surrounding structures and floors.
- Structural Integrity: Proper installation maintains the structural soundness of your home, avoiding costly repairs.
- Luxury and Relaxation: A well-installed freestanding bath creates a spa-like experience, enhancing your bathroom’s ambiance.
- Increased Home Value: Professional installation boosts your home’s value, making it more attractive to potential buyers.
- Durability: Proper installation extends the lifespan of your freestanding bath, ensuring years of trouble-free use.
- Peace of Mind: Knowing your bath is installed correctly gives you confidence and peace of mind, enjoying your bathroom without worries.
Step By Step Installation Process:
Step: Pre-Installation Preparation
Assessing the Space and Layout
Familiarise yourself with the space where your new bath will be placed. Consider aspects such as electrical outlets, nearby fixtures or furniture placements, and the bath’s proximity to walls to ensure there’s sufficient room for cleaning and maintenance.
Measuring and Marking the Position
Use a spirit level and measuring tools to mark the exact floor space where your bath will be installed. These will serve as critical guide points throughout the installation, especially when positioning and levelling the bath.
Ensuring Proper Plumbing Connections
Make sure your plumbing lines and drains are in good condition and ready to be hooked up to the new installation. If your new bath requires adjustments to the plumbing, ensure they are compatible before proceeding.
Step: Removing the Old Bath (if Applicable)
Steps to Safely Remove The Existing Bath
Disconnect the water and power associated with the old bath and begin dismantling it in the reverse order of its installation, beginning with any wall surrounds or casings. You may need a sledgehammer to break the seal between the bath and the floor if it is tiled in place.
Handling Plumbing and Drainage Disconnection
With the old bath out of the way, carefully cap off or remove any exposed plumbing and drainage points, particularly if you don’t intend to install a new bath immediately. It’s crucial to prevent any unwanted leaks.
Step: Assembling the Freestanding Bath
Unpacking and Inspecting the Components
Lay out all the parts and take inventory. Familiarise yourself with the various elements of the bath, including feet or base, body, and taps or fixtures, that come with the unit.
Following Manufacturer Instructions for Assembly
Every freestanding bath model has its unique assembly requirements. Refer to the manufacturer’s instructions for the step-by-step process to put the bath together, making sure to use any included seals or gaskets as directed.
Step: Positioning and Leveling
With the help of assistants, carefully position the bath within the marked area. Pay close attention to the fit against the walls and surrounding plumbing.
Ensuring Proper Leveling and Stability
Use shims to level the bath, making sure it doesn’t rock or move. Once level, secure the placement by bolting the bath to the floor, following the manufacturer’s recommendations.
Step: Connecting the Plumbing
Attaching the Drain and Waste Pipes
Connect the bath’s waste fittings to the drain in the floor and secure them with the appropriate plumbing fixture, preventing any leaks. Pay attention to the use of P-traps or other water traps to ensure proper drainage without odours.
Connecting the Water Supply Lines
Attach the taps or fixtures to the water lines and check for leaks immediately. Turn on the water supply and test the new connection before sealing the installation.
Step: Sealing and Finishing
Applying Sealant for Water-Tightness
Use a high-quality, waterproof sealant to seal the area between the bath and the floor. Also, apply plumber’s putty to the base of any exposed fixtures and around drains to ensure a watertight seal.
Cleaning and Final Touches
Clean the bath thoroughly with a non-abrasive cleaner before using it. This is also the time to apply any finishing touches, such as silicone coating or polishing, to make your installation look professional and easier to maintain.
Conclusion
Successfully installing a freestanding bath is a rewarding achievement that not only adds to the aesthetic appeal of your home but also requires strict adherence to safety protocols and industry best practices. It’s crucial to follow the steps outlined above to the letter, and when in doubt, don’t hesitate to consult a professional. Remember, the peace of mind from a job well done is a luxury that’s always worth it.
I simply could not go away your web site prior to suggesting that I really enjoyed the standard info a person supply on your guests Is going to be back incessantly to investigate crosscheck new postsposts
Your blog is a true gem in the world of online content.
Ive read several just right stuff here Certainly price bookmarking for revisiting I wonder how a lot effort you place to create this kind of great informative websitewebsite
Your writing is like a breath of fresh air in the often stale world of online content.
Your writing is like a breath of fresh air in the often stale world of online content.
you are in reality a good webmaster The website loading velocity is amazing It sort of feels that youre doing any distinctive trick Also The contents are masterwork you have done a fantastic job in this
fantastic submit, very informative.
Way cool! Some extremely valid points!
Pretty portion of content.
In addition, I found your article to be very well-researched and substantiated.
The article’s relevance to current events and societal issues is striking.
helloI like your writing very so much proportion we keep up a correspondence extra approximately your post on AOL I need an expert in this space to unravel my problem May be that is you Taking a look forward to see you like your writing very so much proportion we keep up a correspondence extra approximately your post on AOL I need an expert in this space to unravel my problem May be that is you Taking a look forward to see you
Hello my loved one I want to say that this post is amazing great written and include almost all significant infos I would like to look extra posts like thisthis
Thanks I have recently been looking for info about this subject for a while and yours is the greatest I have discovered so far However what in regards to the bottom line Are you certain in regards to the supplysupply